
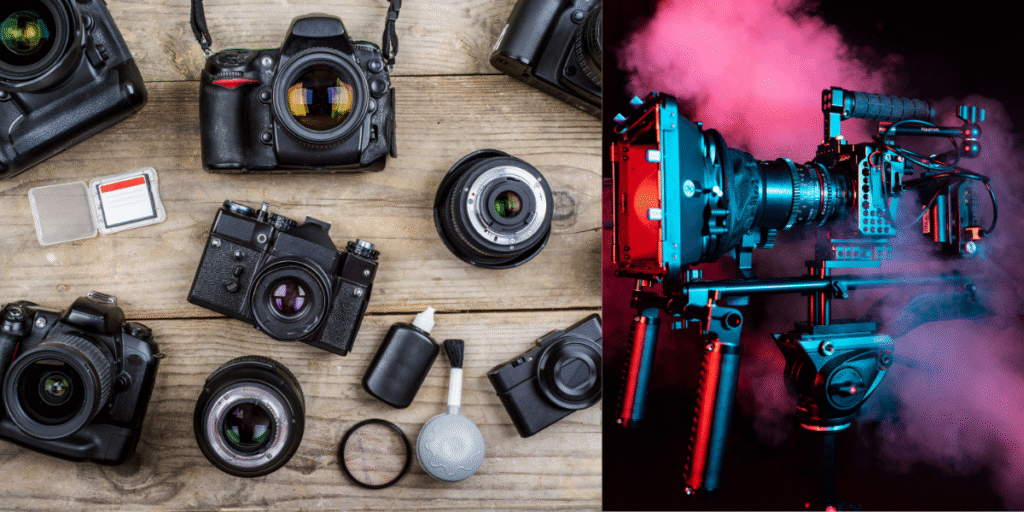
In the world of photography and digital imaging, visual effects are essential for transforming basic images into captivating works of art. One such effect is the photeeq lens flare, a creative tool that can elevate the visual impact of a photo when used effectively. In this comprehensive article, we’ll explore what photeeq lens flare is, how to use it, its pros and cons, and why it has gained significant attention in digital photography and post-processing.
What is Photeeq Lens Flare?
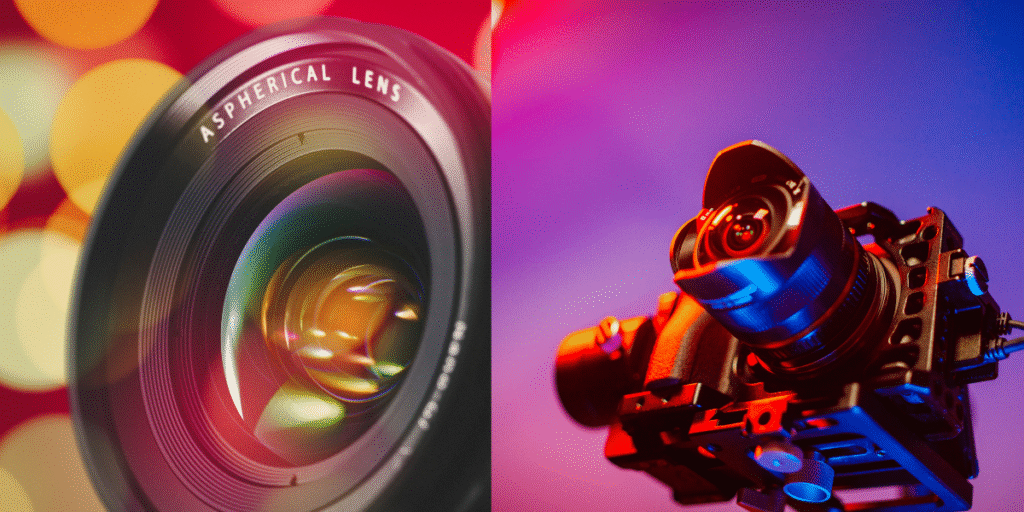
The term photeeq lens flare refers to a digital effect that mimics the appearance of light reflecting and scattering within a camera lens. Originally seen as a flaw in traditional photography, lens flare has evolved into a popular stylistic choice. With the introduction of tools like Photeeq, a discontinued Photoshop plugin once used for photo editing, photographers and digital artists found a way to integrate realistic lens flares seamlessly into their work.
While the original Photeeq plugin is no longer officially supported, the term “photeeq lens flare” continues to be used by enthusiasts and professionals who recall the tool’s powerful effects and easy-to-use interface. Today, similar lens flare effects are often achieved using alternative plugins or Photoshop techniques inspired by the Photeeq legacy.
Why Use Photeeq Lens Flare in Your Edits?
Using photeeq lens flare in your images offers numerous benefits:
- Enhanced Realism: When used sparingly, lens flare can simulate real lighting conditions.
- Emotional Impact: Lens flares add drama and emotion to portraits, landscapes, and even product shots.
- Focus Direction: They can help guide the viewer’s attention to the subject or key elements in the frame.
- Stylization: Achieve a cinematic or nostalgic look, often seen in films and advertisements.
Techniques to Apply Photeeq Lens Flare Effects
Although the original Photeeq plugin is defunct, here are alternative ways to recreate a photeeq lens flare effect:
1. Photoshop Manual Technique
- Add a new layer
- Use the “Lens Flare” filter under Render
- Adjust brightness and flare type
- Use layer masking and blending modes for realism
2. Third-Party Plugins
- Tools like Luminar, Nik Collection, or ON1 Effects include advanced lens flare effects
- These offer presets inspired by the classic photeeq lens flare look
3. Mobile Applications
- Apps like Snapseed or Lens Distortions can replicate flare effects on mobile devices
- Easy for quick edits on the go
4. Overlays and Brushes
- Downloadable overlays or lens flare brushes can be added in Photoshop or Lightroom
- Adjust opacity and position for desired effect
Creative Uses of Photeeq Lens Flare
The photeeq lens flare effect isn’t limited to one genre. Here are ways it can be used across styles:
Landscape Photography
Simulates sunlight streaming through trees or setting behind mountains.
Portrait Photography
Adds dreamy highlights and a romantic tone.
Event Photography
Enhances lighting in concerts or festivals, adding atmosphere.
Product Photography
Highlights contours and gives a modern aesthetic.
Tips for Effective Use of Photeeq Lens Flare
- Don’t Overdo It: Too much flare can distract from the subject.
- Mind the Light Source: Make sure the flare aligns naturally with the light in your image.
- Use in High Resolution: To preserve detail when editing.
- Test Different Styles: Try starburst, halo, or streak types to find what suits your image best.
The Evolution of Photeeq and Its Legacy
Although Photeeq as a plugin has faded from the modern digital photography space, its influence persists. The phrase photeeq lens flare has become symbolic of a certain style and methodology in editing. It represented an era of accessible tools that brought advanced post-processing techniques to hobbyists and professionals alike.
Modern editors continue to seek plugins and filters that echo the simplicity and effectiveness of Photeeq. For those who once used it, recreating the photeeq lens flare effect has become an homage to a beloved tool.
Common Mistakes When Using Photeeq Lens Flare
- Placing Flare Without Light Source: Always correlate the effect with a visible or implied source.
- Ignoring Subject Visibility: Ensure the flare doesn’t obscure faces or key objects.
- Color Mismatch: Match the color tone of the flare to the image’s temperature.
- Lack of Subtlety: A natural look often makes more impact than an exaggerated one.
FAQs About Photeeq Lens Flare
Q1: Is Photeeq still available for download?
No, the original Photeeq plugin is no longer supported or available from its developers. However, alternatives exist for achieving similar effects.
Q2: Can I use photeeq lens flare effects without Photoshop?
Yes, mobile apps and online editors like Canva and Snapseed offer lens flare tools that mimic the Photeeq look.
Q3: Is photeeq lens flare good for professional photography?
When used correctly, it can enhance professional images, especially in editorial or artistic contexts.
Q4: What are the best alternatives to Photeeq?
Consider Luminar, ON1 Effects, or custom lens flare brushes and overlays available on graphic resource sites.
Q5: Are lens flares suitable for all types of photography?
Not always. They are more suited to stylized imagery rather than documentary or clinical photography.
Conclusion
Conclusion
The photeeq lens flare effect remains an iconic visual element that adds artistic flair and emotional depth to images. Even though the original Photeeq plugin is no longer in use, the term still resonates with digital artists and photographers seeking that signature look. By understanding how to effectively apply and customize lens flare effects, you can enrich your visual storytelling and captivate your audience.
Whether you’re recreating the past or experimenting with new techniques, the legacy of photeeq lens flare lives on in the vibrant world of digital photography.


